Do you have a Samsung DLP TV with a busted lamp? This is a Do-It-Yourself guide for replacing your Samsung DLP lamp, it shouldn’t take more than 5-10 minutes to replace!
All you need is a Philips screw driver and a pair of pliers.
Step 1: Remove the pull out handle on the lamp enclosure. Just squeeze one end of the handle in and it will come loose.
Here is it removed:
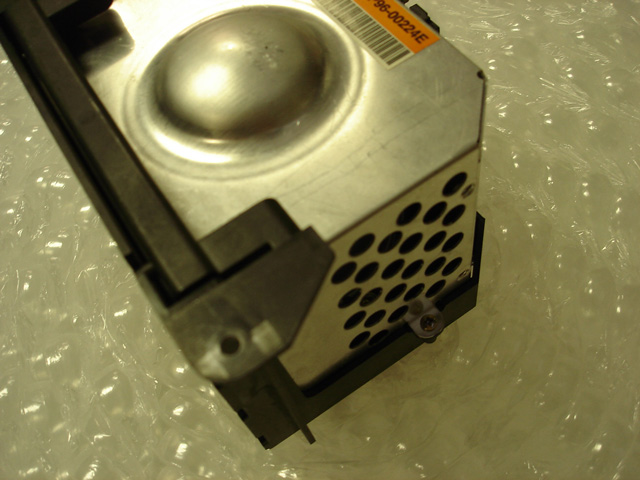
Step 2: Remove the two screws holding the metal lamp enclosure. One screw on either side (one side is
circled in the photo below).

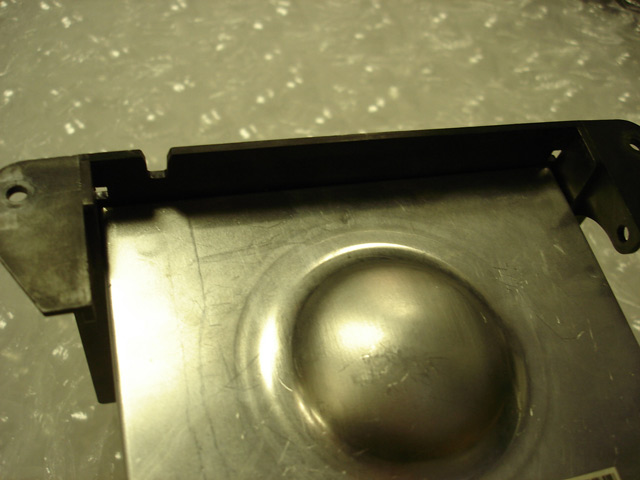
Now pull the metal enclosure straight up (or back in this case 🙂
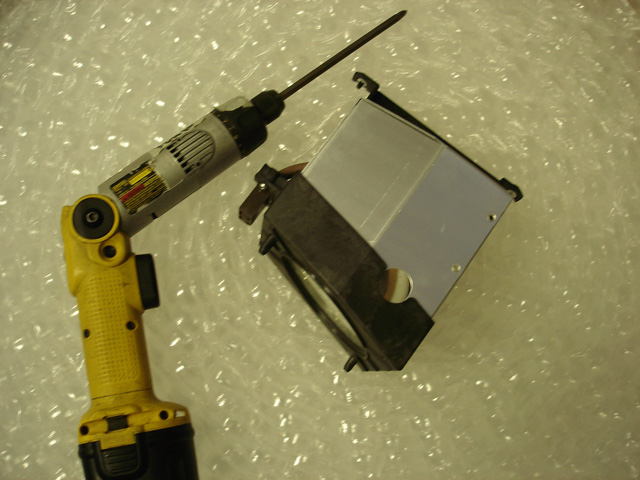
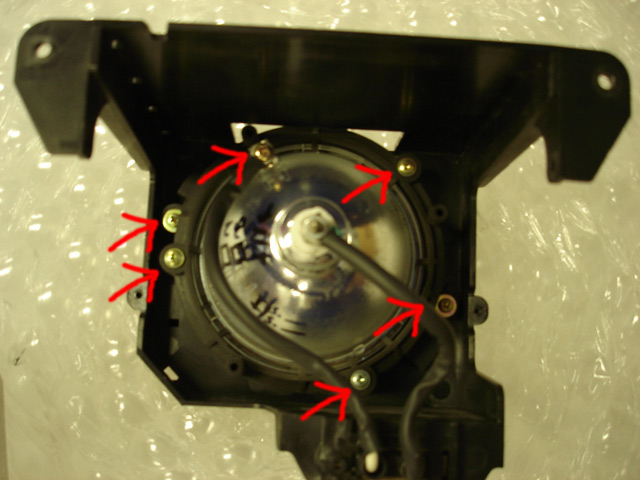
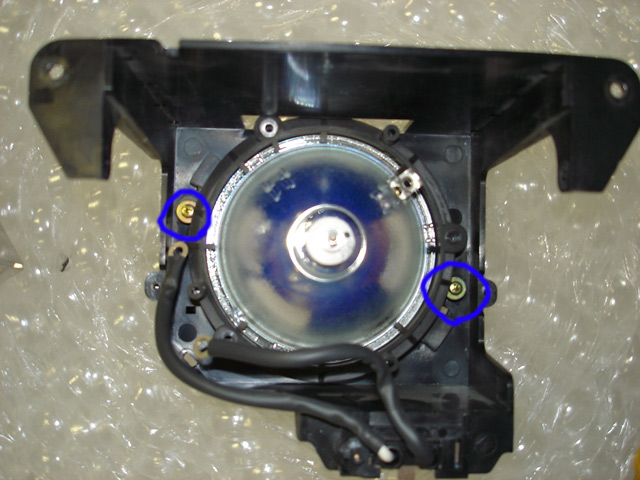
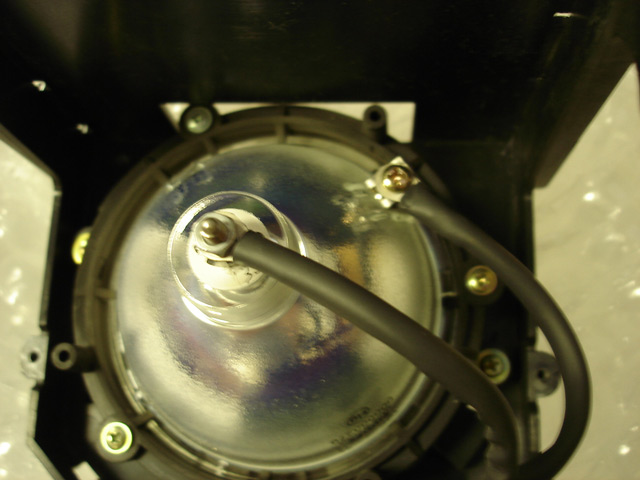
Step 3: Remove the six screws show in the picture below:
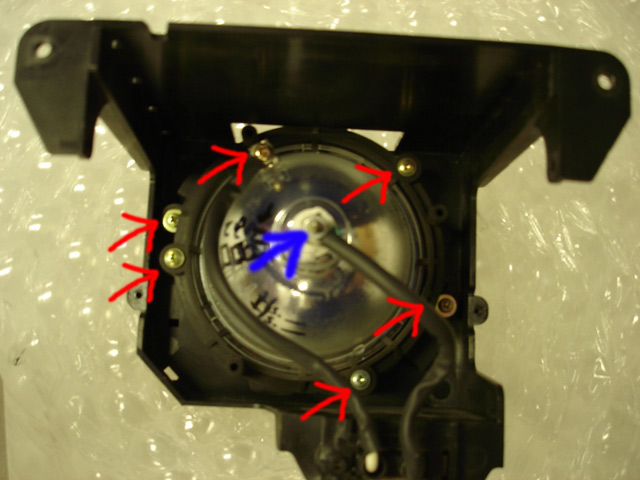
Don’t forget the nut right in the middle (blue arrow)…you should be able to unscrew this with your fingers:
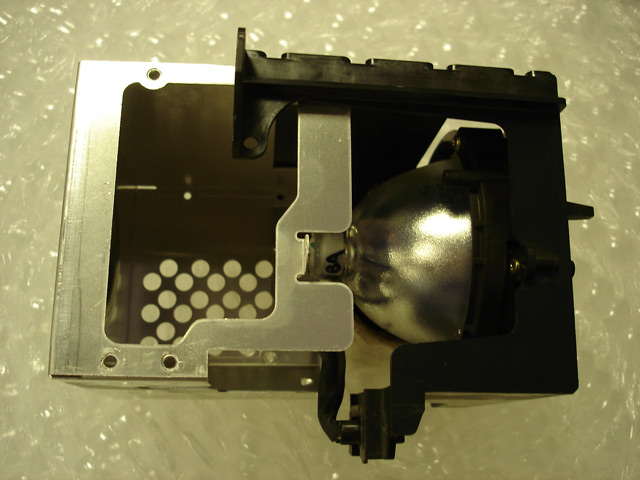
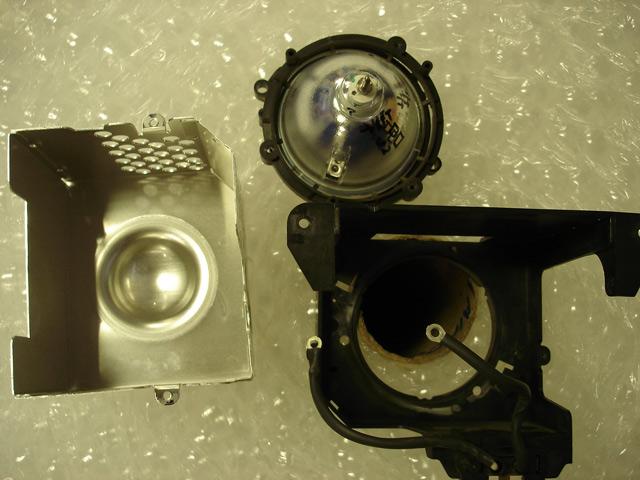
Step 4: Pull out the lamp. Be careful not to loose the washer under the nut. Here is the lamp enclosure
dis-assembled..that’s was simple, right ?!?
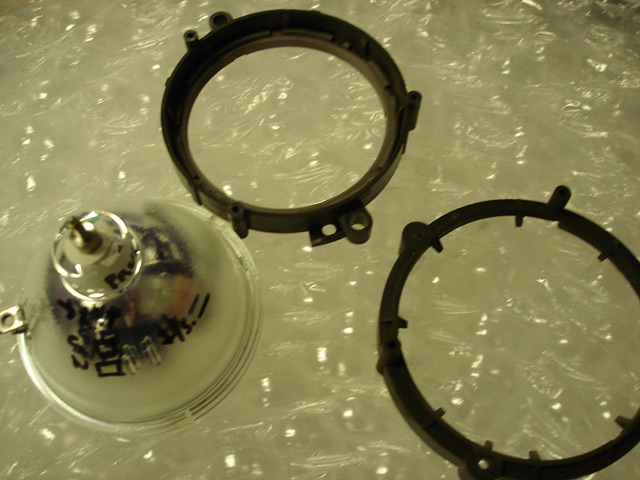
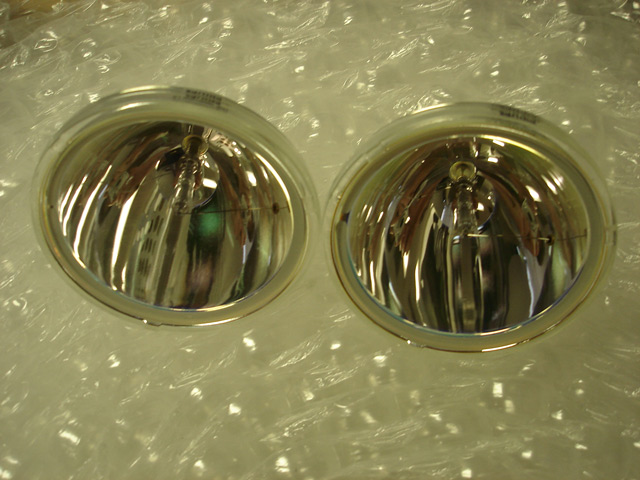
Step 5: Now just swap out the lamp! Here is the original lamp…

Original lamp again with the spacers separated
The original lamp is on the left side…our new Samsung part is on the right. Both made by Philips.
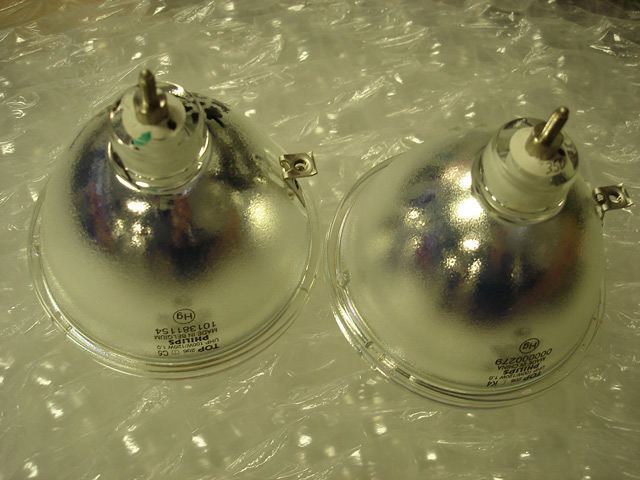
Here is another picture of the lamps side by side…you can’t tell which one is new and which one is defective.
Be careful not to accidentally replace your old lamp with your old lamp!
Step 6: Assemble in reverse order. First screw these two to hold the spacers in place…
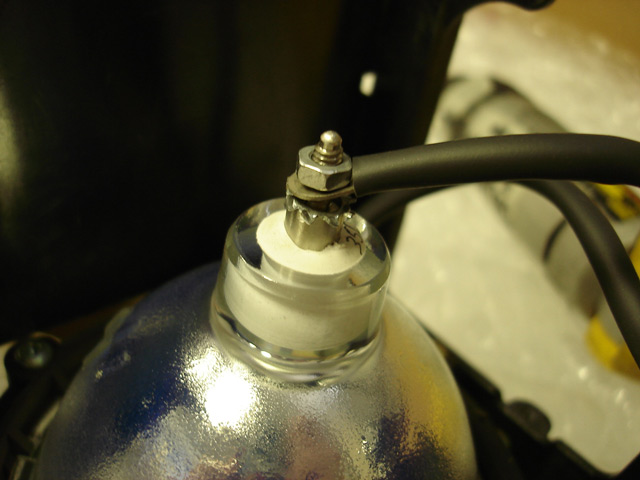
Now screw in the rest. Don’t forget the most important one…put the washer on the bottom and the
nut on top…
The location of the lamp connectors, relative to the enclosure is not important…notice the first picture above
compared to the picture below. The first picture has the outer connector on the left side of the enclosure
whereas now the connector is on the right side of the enclosure.
Now place the metal cover back on after tighening all the screws, tighten the two screws on the metal enclosure, pop in the pull out tray…and you’re done! 🙂

It took me about 5 minutes from enclosure removal to enclosure re-install… it might take an inexperienced user 10-15 mins.
IMPORTANT: The bulb should be handled with a clean cloth to avoid any dirt or oil. Our hands are naturally oily… this is a no-no for these lamps. It doesn’t hurt to do a final wipe with a clean, non-abrasive, lint-free cloth before reinstalling your lamp. Alternatively, you can wear a pair of latex gloves!
If you have any questions leave a comment!