 Windows 10 has made it easier to connect
Windows 10 is the common operating system in many business settings. Sometimes when you’re doing an offsite presentation who may find yourself either using a loaner projector or laptop. Whichever scenario you find yourself in, here’s what to do to get connected and start your presentation.
Using Windows
Microsoft has made it a lot easier to connect your laptop to a projector thanks to the Windows 10 Creators Update. These have settings that make it a plug and play option. Here’s how to do that:
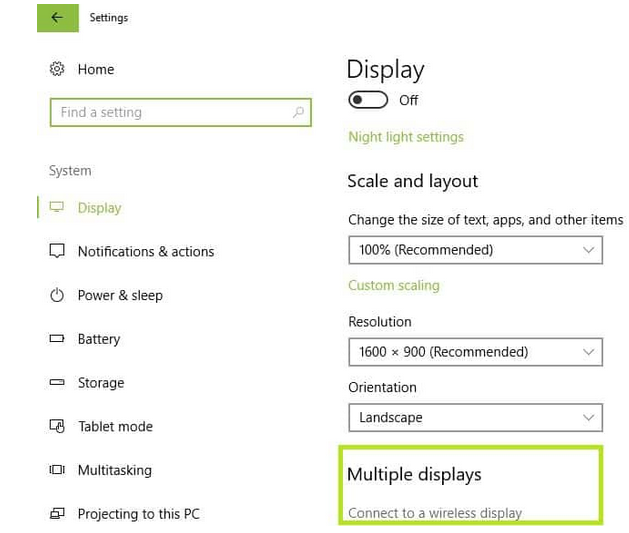
- Go to Settings > System > select Display
- Click on ‘Connect to a wireless display’
- A new window will appear on the right side of the screen displaying all the projectors found.
- Select the projector that you want to connect to.
- You won’t need a cable to connect your Windows 10 computer to a projector is both devices support Miracast. Once you, select the option ‘Connect to a wireless display’ choose a projector and then the projector will mirror your computer’s screen.
Connecting the hardware
If there is no WIFI connection you’ll have to get your laptop speaking to the projector. Here’s what to do:
- Turn off your laptop and the projector. Connecting cables to your laptop while it’s running may make the cable not be registered by the device.
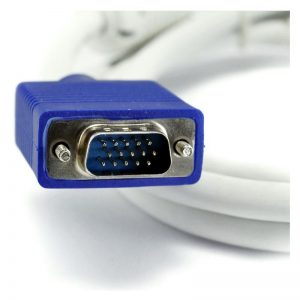
- Connect the video cable (usually VGA) from your laptop’s external video port to the projector.
- Turn on both the projector and your laptop.
- Go to the Control Panel and choose Appearance and Personalization, click Adjust Screen Resolution
- Click Project to a Second Screen
- Read more in our article .
Find the cable you need on Amazon:
- Rankie VGA to VGA Cable, 6 Feet
- Cable Matters VGA to VGA Cable (SVGA Cable) 6 Feet (Available 3FT – 100 FT in Length)
- AmazonBasics VGA to VGA Cable – 10 Feet (3 Meters)
How to connect your projector to a Windows 10 computer
- You may have the reverse scenario where you have the projector but need to plug into an existing Windows 10 deskop or loaner laptop. Here’s what to do:
Connect the projector to the Windows 10 computer
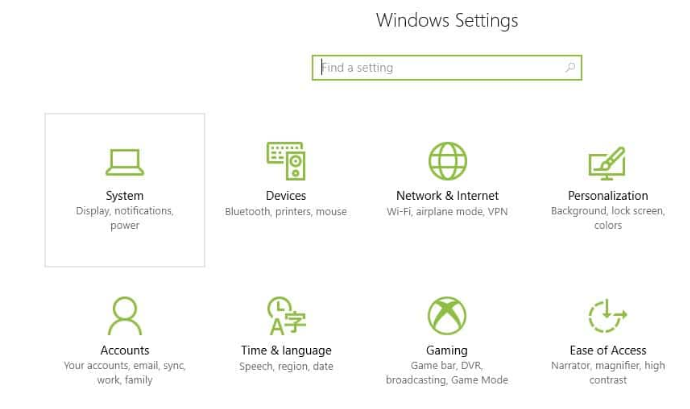
Go to Start Menu, open Settings and go to System - Under Display, click Advanced display settings
- Drag and drop the onscreen computer screens to the right or left until they match the physical placement of the real computer screens
- Choose your main display
- Now you should set what your projector is going to show. You do that by adjusting the Orientation settings and Multiple displays settings. Here are the available options:
- Duplicate These Displays: This option shows the exact same image on your regular monitor and on the projected screen
- Extend These Displays: This option stretches Windows to fit across both screens
- Show only on 1: Choose this before you’re ready to show off your presentation. Then switch to Duplicate These Displays
- Show Only on 2: Choose this to show only the second display, which is useful when hooking up a tablet to a TV for watching movies in a dark room
- Click Apply to save your settings