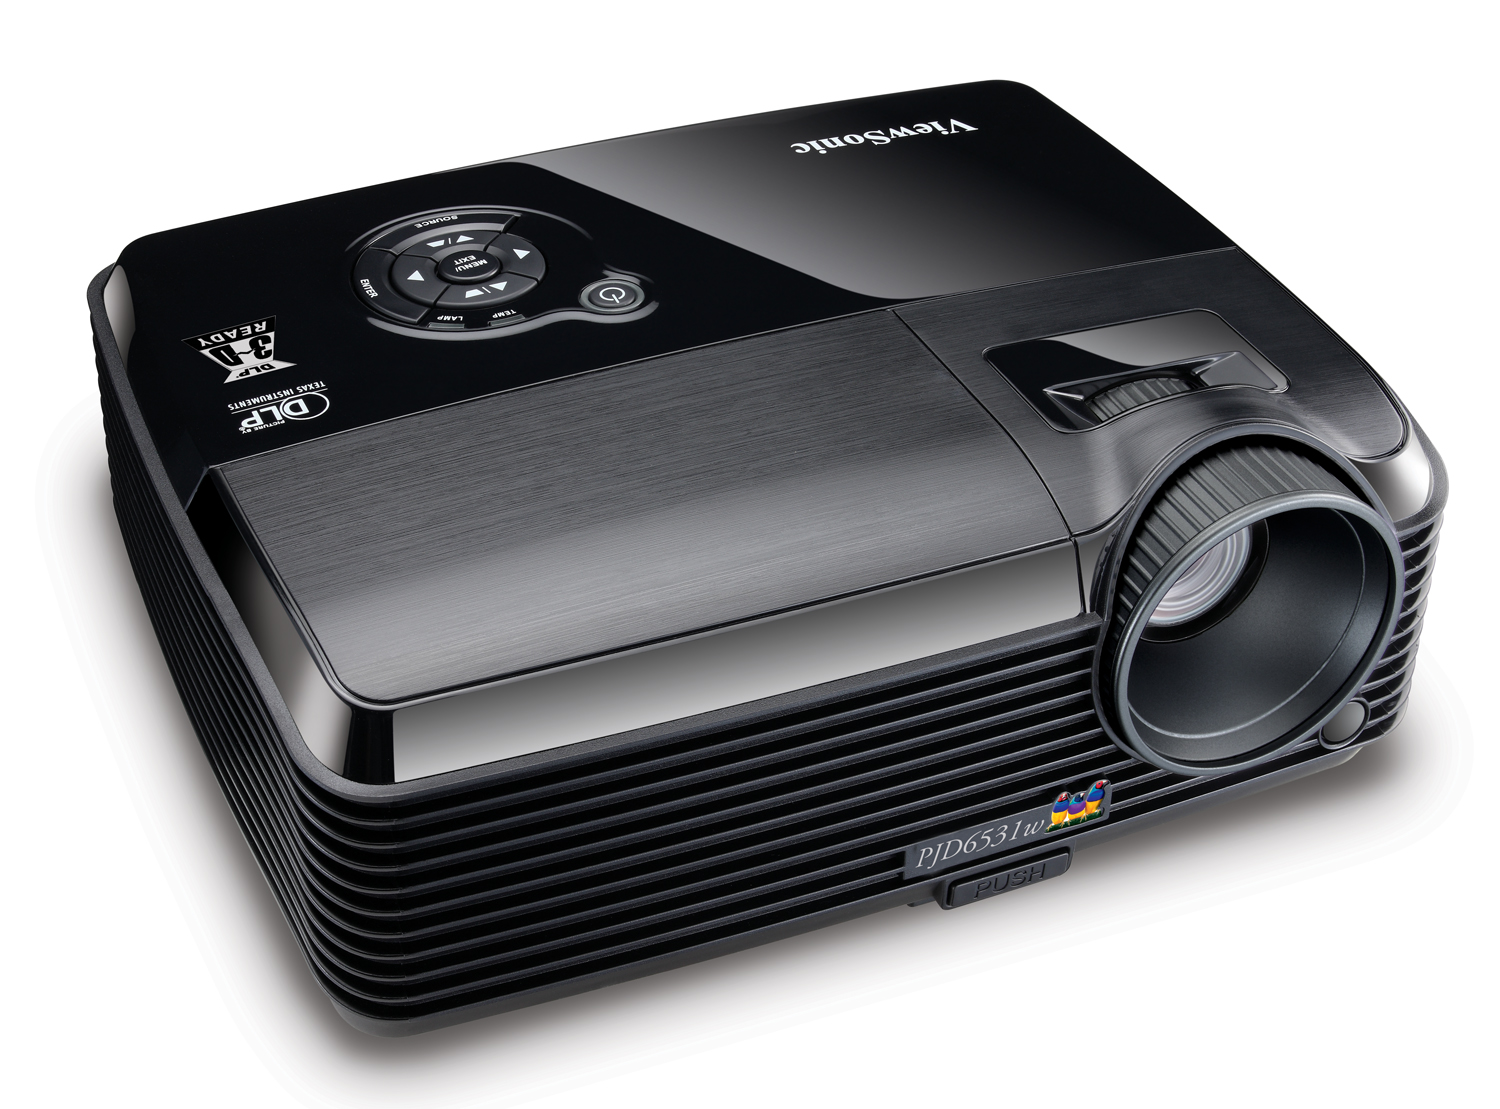
Changing the Viewsonic PJD6531w projector lamp can be hassle-free when you follow our how-to-guide.
When it’s time to replace the Viewsonic PJD6531w projector lamp you’ll notice the Power LED lamp light becomes a bright blue and Lamp LED becomes bright red. A warning message will also flash onscreen. Replace the lamp immediately and discontinue use of the old lamp. Failure to do can result in the lamp exploding and damaging your Viewsonic PJD6531w.
Note: Viewsonic recommends you contact a service rep before changing the lamp.
Authentic lamps are critical!
Your Viewsonic PJD6531w is a sophisticated piece of technology with sensitive optics stored inside it’s main operating system. It doesn’t make sense to buy a cheap, reproduction lamp that is inferior to authentic OEM lamps. These Original Equipment Manufacturer (OEM) lamps are created using the proper materials and with the proper fittings. Look for the seal of approval that lets you know you are buying an authentic projector lamp.
6 reasons to avoid generic lamps:
- shorter lamp life than original lamps
- created with toxic materials and carcinogenic parts including Krypton-85
- prone to explosions
- can damage the sensitive electronics in your projectors
- when you buy copy-cat lamps you get no guarantee or refunds
- installing a generic lamp voids your projector’s warranty.
Learn how to spot the copycat lamps posing as authentic lamps.
Find this lamp sold on Amazon by these authorized dealers:
- Optoma BL-FU185A, UHP, 185W Projector Lamp
Optoma BL-FU185A Projector lamp – UHP – 185 Watt – for Optoma DS316, ES526, EW536, EX536, Pro350, TS526, TW536, TX536, Home Theater Series HD66
- BL-FU185A Optoma Projector Lamp Replacement. Projector Lamp Assembly with Genuine Original Philips UHP Bulb Inside.
- Optoma BL-FU185A Replacement Lamp for TS526/PRO150S/DS316/TX536/PRO250X/DX619 Projectors
- Optoma 00185 – BL-FU185A Projector Light Bulb
Installing the Viewsonic PJD6531w projector lamp
Your Viewsonic PJD6531w projector lamp uses the Viewsonic RLC-049 projector lamp. Before replacing the follow these crucial safety tips to prevent injury to yourself or the projector:
- NEVER change the lamp unless the Viewsonic PJD6531w projector is cool to the touch. The PJD6531w operates under extremely high temperatures and you can burn yourself quite badly.
- Switch off the power to the Viewsonic PJD6531w projector.
- Disconnect the power cord.
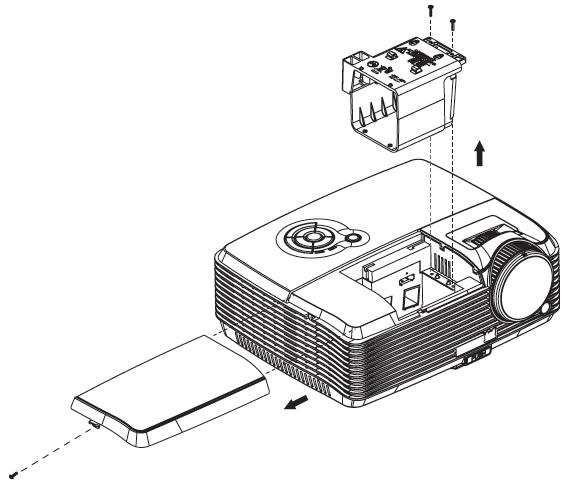 1. Use a screwdriver to undo the screw holding the lamp cover in place. Remove the lamp cover, being careful not to lose the screws.
2. Slide the lid — slowly — off the projector. and place to one side. Don’t lose the lid because the Viewsonic PJD6531w projector will not turn back if the lamp cover hasn’t been installed properly.
3. Remove the two screws holding the Viewsonic RLC-049 lamp in place.
Note: The used Viewsonic RLC-049 lamp contains mercury and should be properly recycled. Don’t throw it into regular garbage.
4. Grab the Viewsonic RLC-049 lamp by it’s side edges and slowly lift the lamp put of the projector. Be careful not to bang the lamp against the projector as this may case the bulb to break.
Learn what to do if the lamp has exploded inside the projector.
- Remove the new Viewsonic RLC-049 from its packaging.
- Taking care not to touch the actual bulb, lift up the handle on the new lamp and insert it gently into the Viewsonic PJD6531w into projector.
- Tighten the two screws on the lamp.
- Replace the lamp cover and tighten its two screws. Reset the lamp timer.
Reset the Lamp Replacement Timer
The Viewsonic PJD6531w projector has an automatic lamp timer that tracks the numbers of hours left in the lamp. Each time you install a new lamp, you’ll need to to reset the lamp timer to know how many hours are left and when to change the bulb.

To reset the Lamp Replacement Timer:
- Turn on the projector.
- Using the remote press MENU or press the MENU button on the projector
- Scroll to the main menu
- Select Settings
- Scroll down to Lamp Hours
- Press the arrow button to move to the right,
- Select YES.
- Press MENU to exit.
